
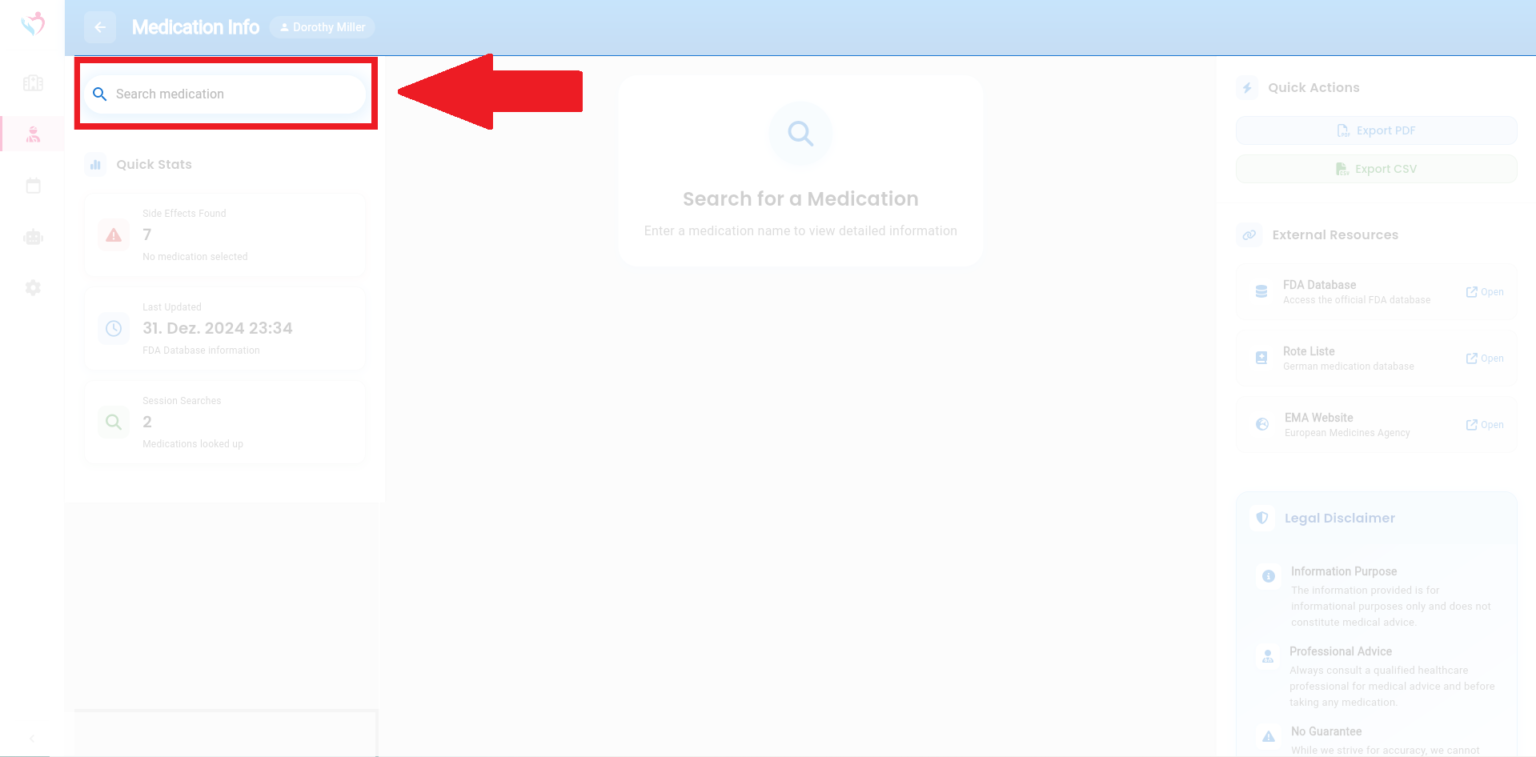
The Medication Info feature allows caregivers to review detailed information about medications. This module is designed purely for informational purposes and ensures that caregivers have quick access to essential data regarding medications.
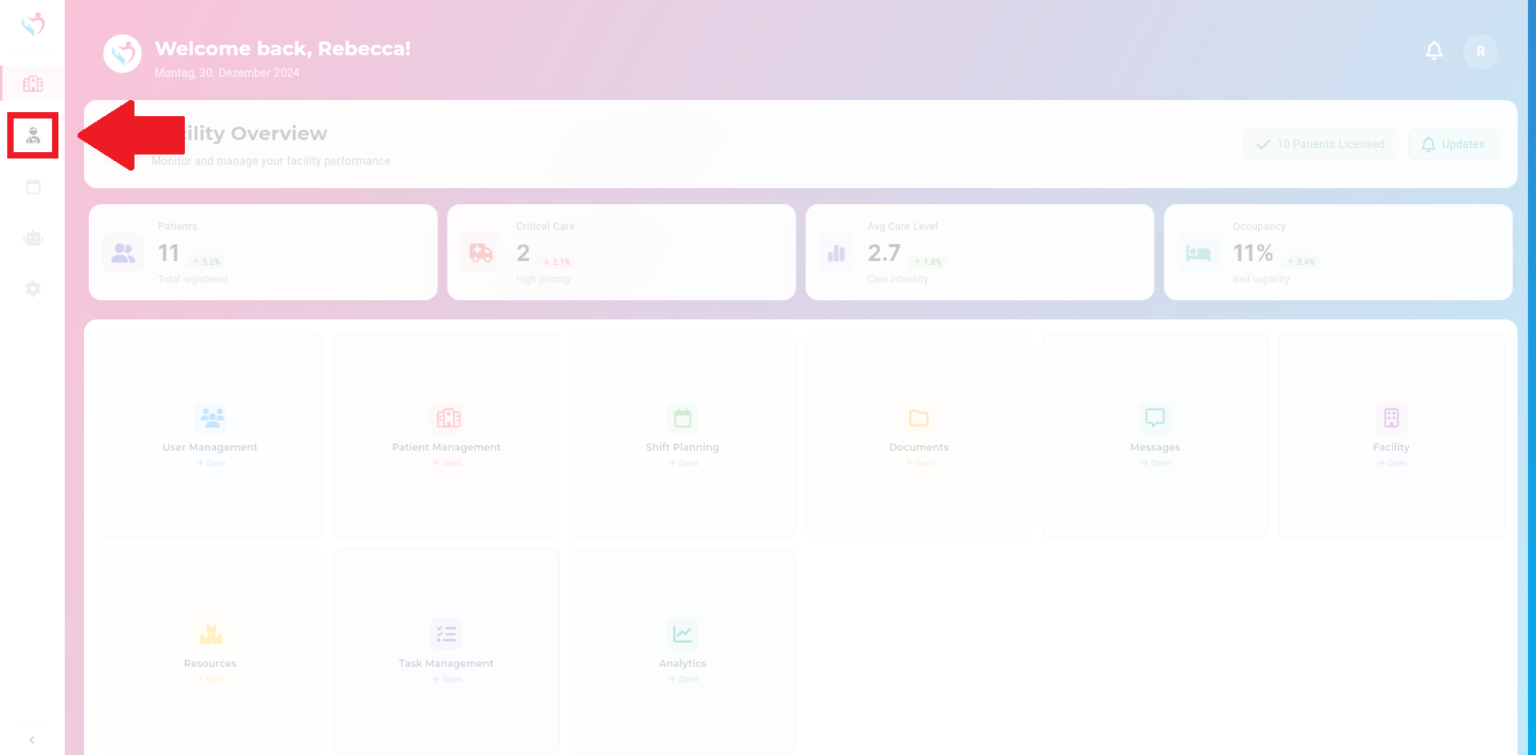
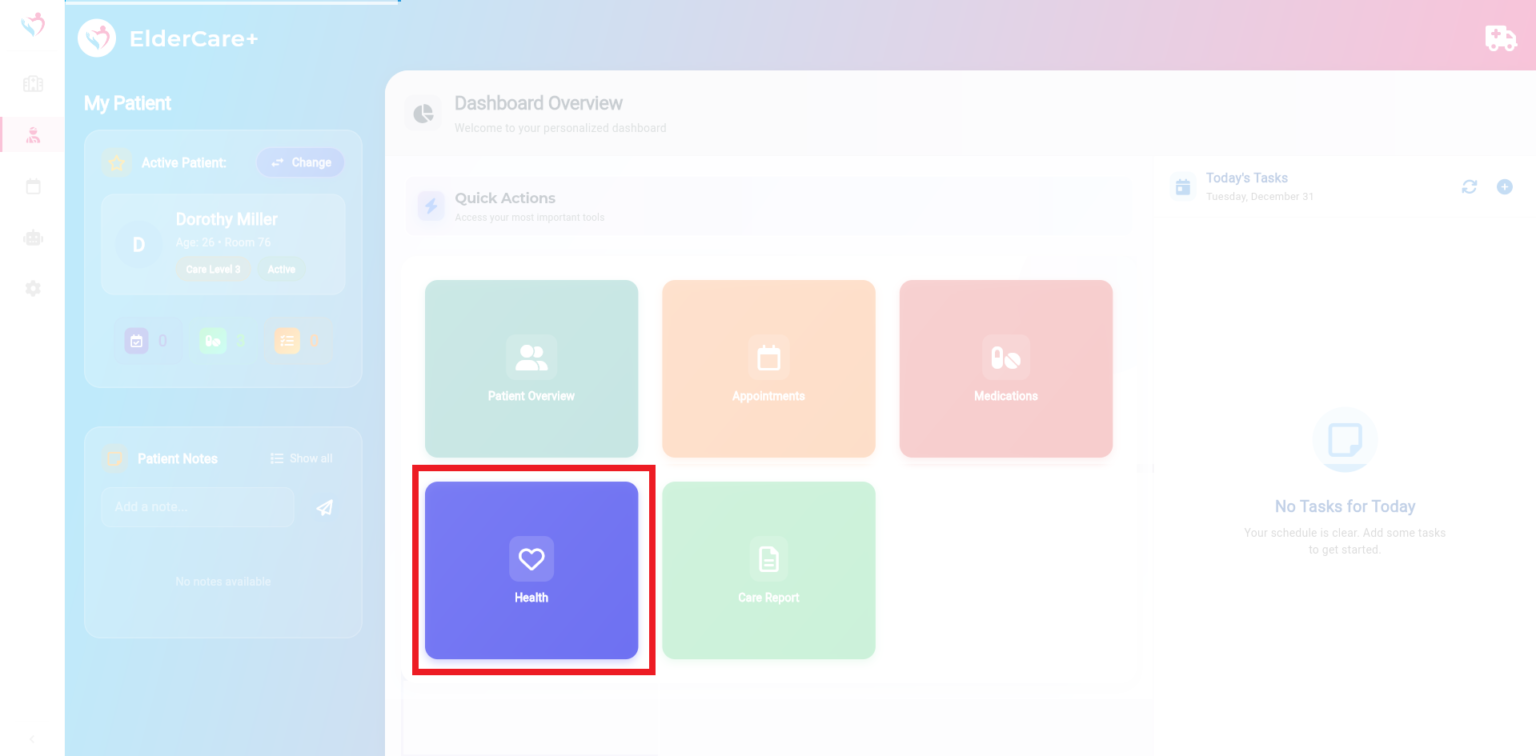
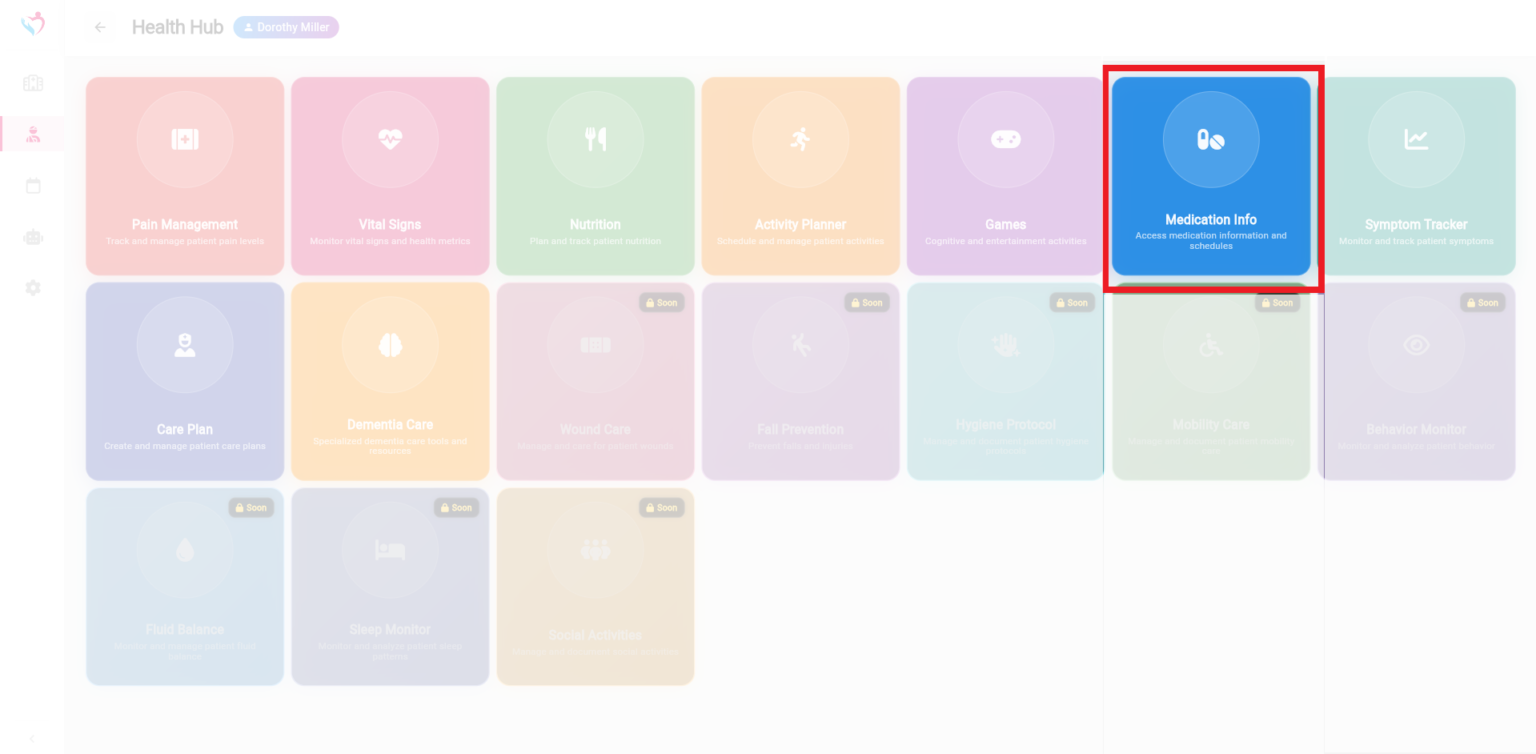
Step 1: Go to My Patient and click on “Health”. You will find the Medication Info there.
Step 2: Click on “Search Medication” in the upper left corner, enter the name of the medication, and press search. The relevant information about the medication will then be displayed.
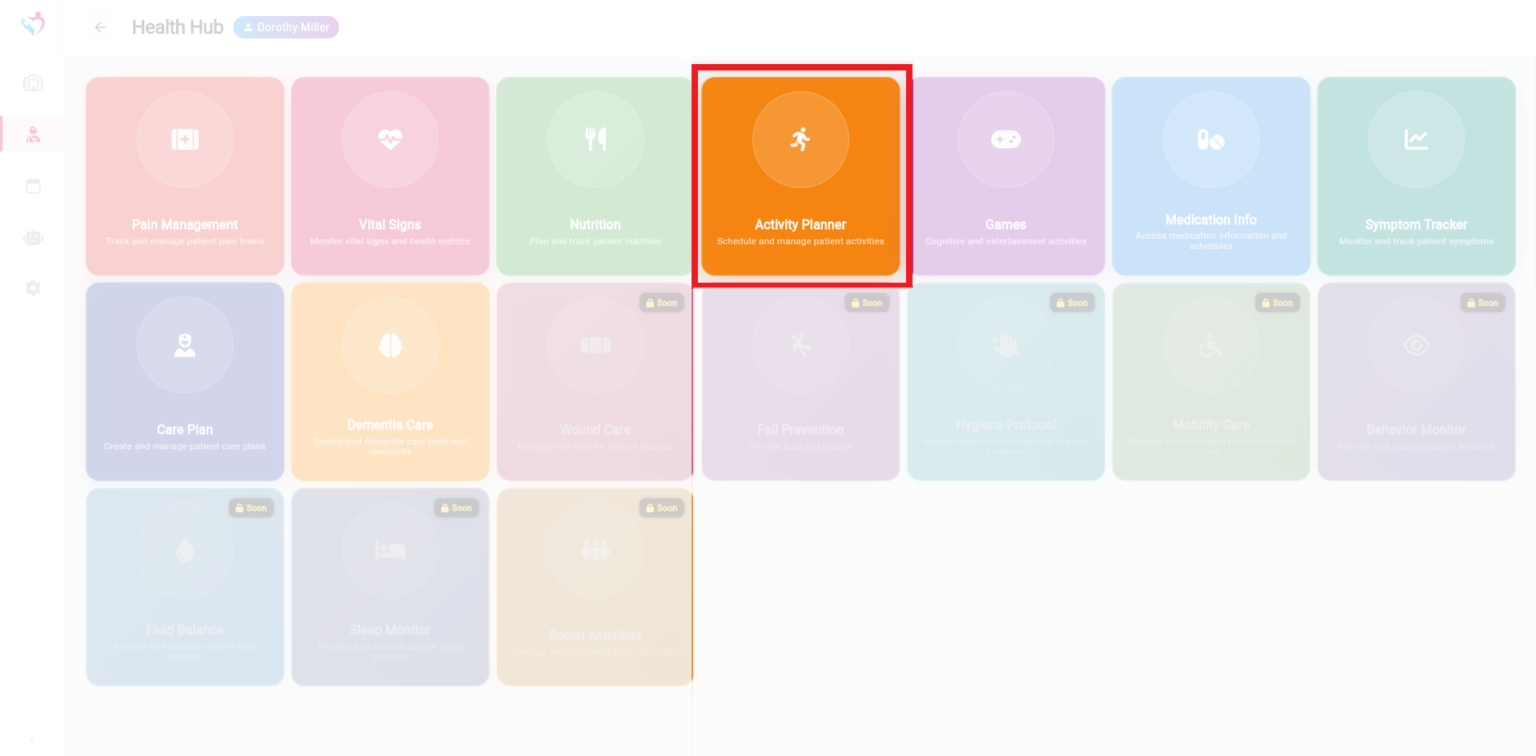
The Activity Planner helps caregivers efficiently schedule, manage, and track patient activities. With this tool, you can organize daily and weekly routines for better engagement and care management.
Step 1: Navigate to My Patient and click “Health”. There you will find the Activity Planner. Click on “Activity Planner”
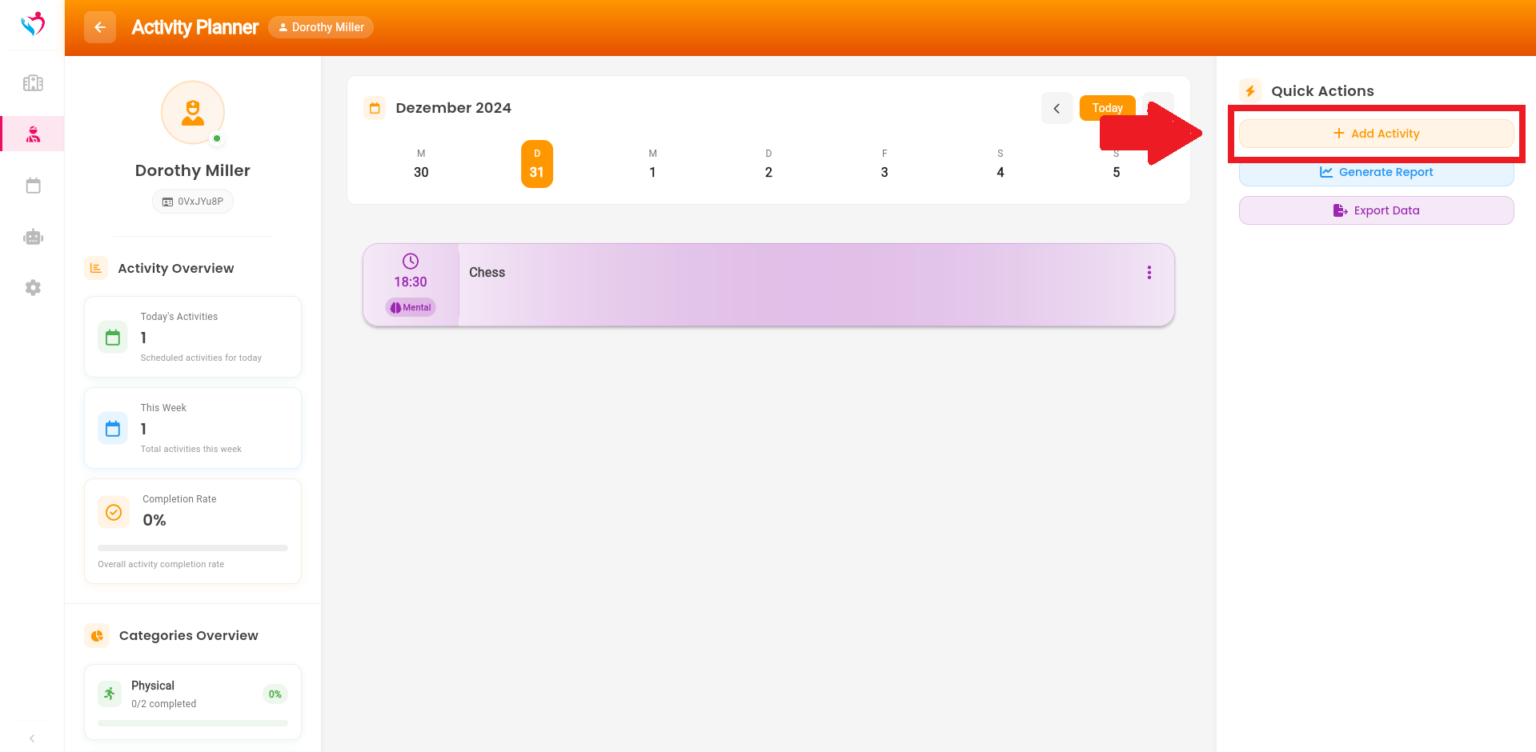
In the menu, you can see in the left column how many activities have already been scheduled for the patient and what types of activities are planned.
Step 2: To create a new activity, first select the desired date in the calendar bar at the top, then click on “Add Activity” in the upper right corner.
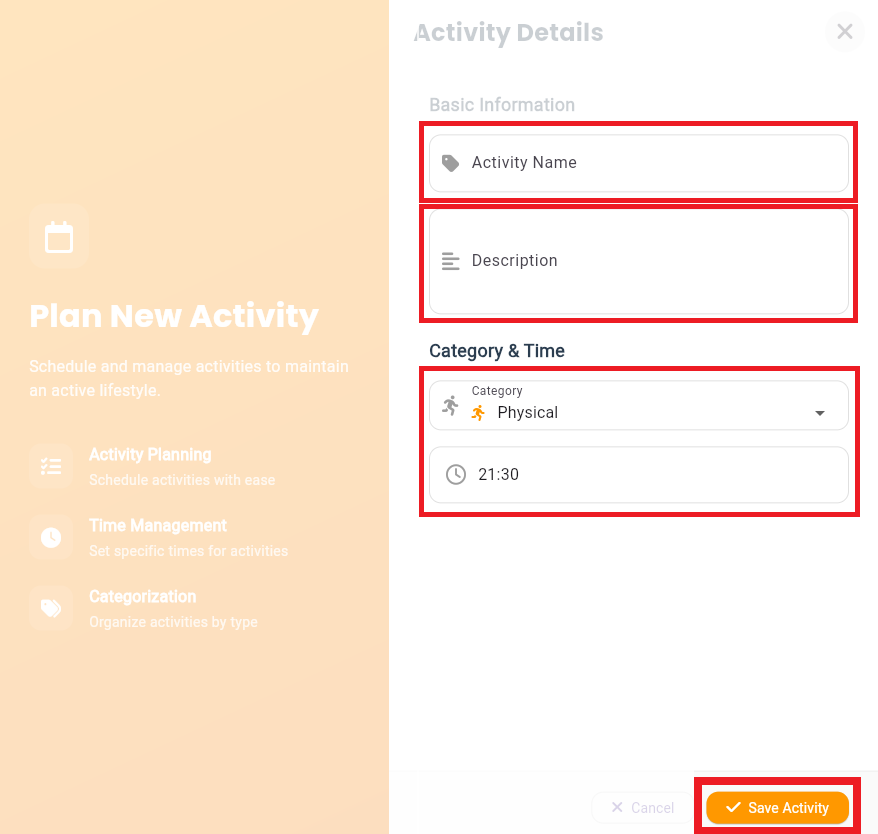
Step 3: Write down the activity name and add a description. Select the category and the time and click “Save Activity”.
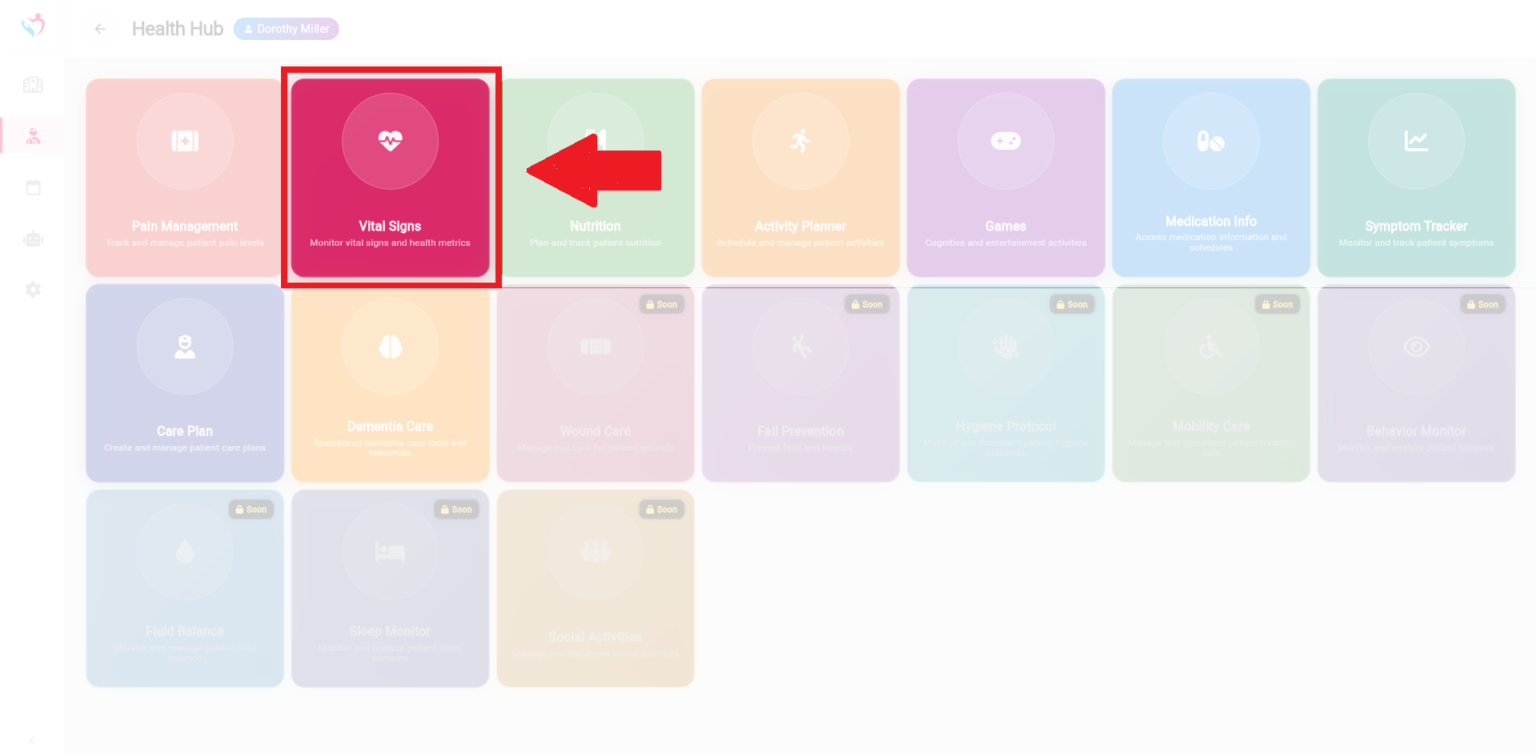
The Vital Signs feature is essential for monitoring key health metrics such as blood pressure, heart rate, and blood sugar levels. It helps caregivers track patient health trends over time, ensuring timely interventions and informed care decisions.
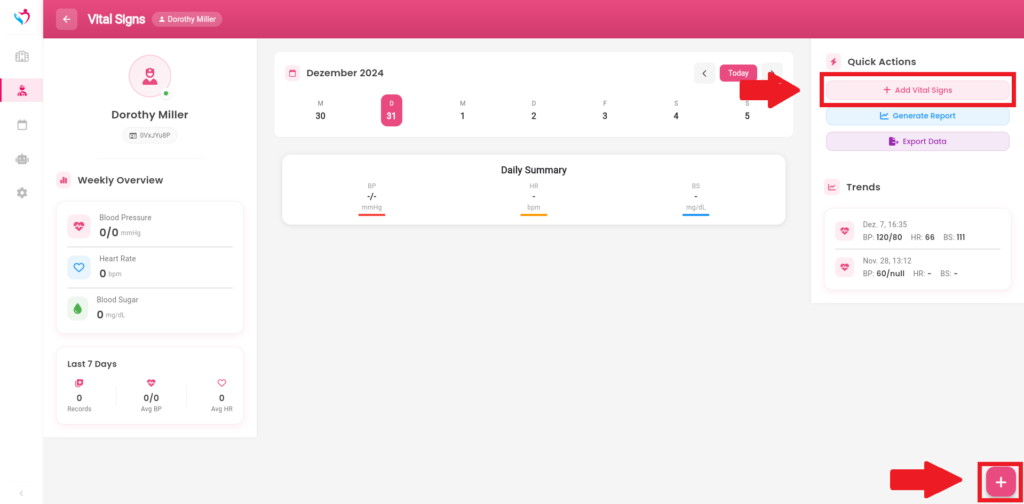
Step 1: Navigate to My Patient and click “Health”. There you will find the Vital Signs. Click on “Vital Signs”.
The left panel displays a Weekly Overview of vital metrics, such as Blood Pressure, Heart Rate and Blood Sugar. Below the weekly data, you can review stats for the past 7 days, including average BP and HR. Use the “Trends” panel on the right to see the history of vital signs for the selected patient.
Step 2: To add a new Vital Sign, click on the “+ Add Vital Signs” button located in the Quick Actions menu on the top-right corner.
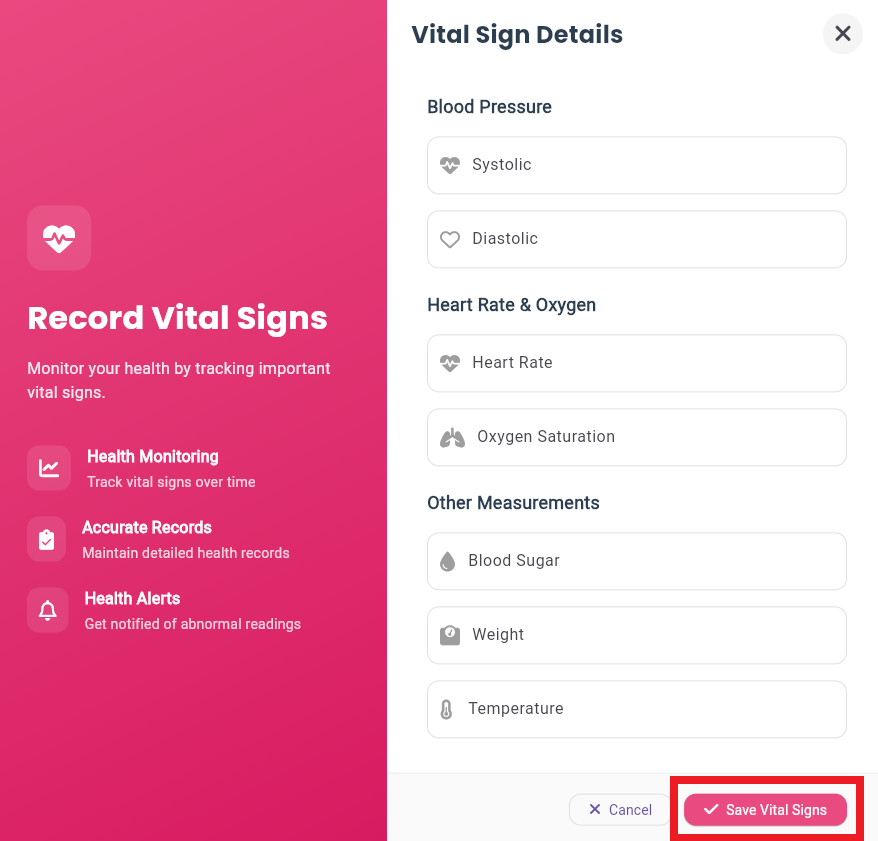
Step 3: A form will appear. Input the measurement date along with the values for blood pressure, heart rate, and any other metrics. Click “Save Vital Signs” to store the data.
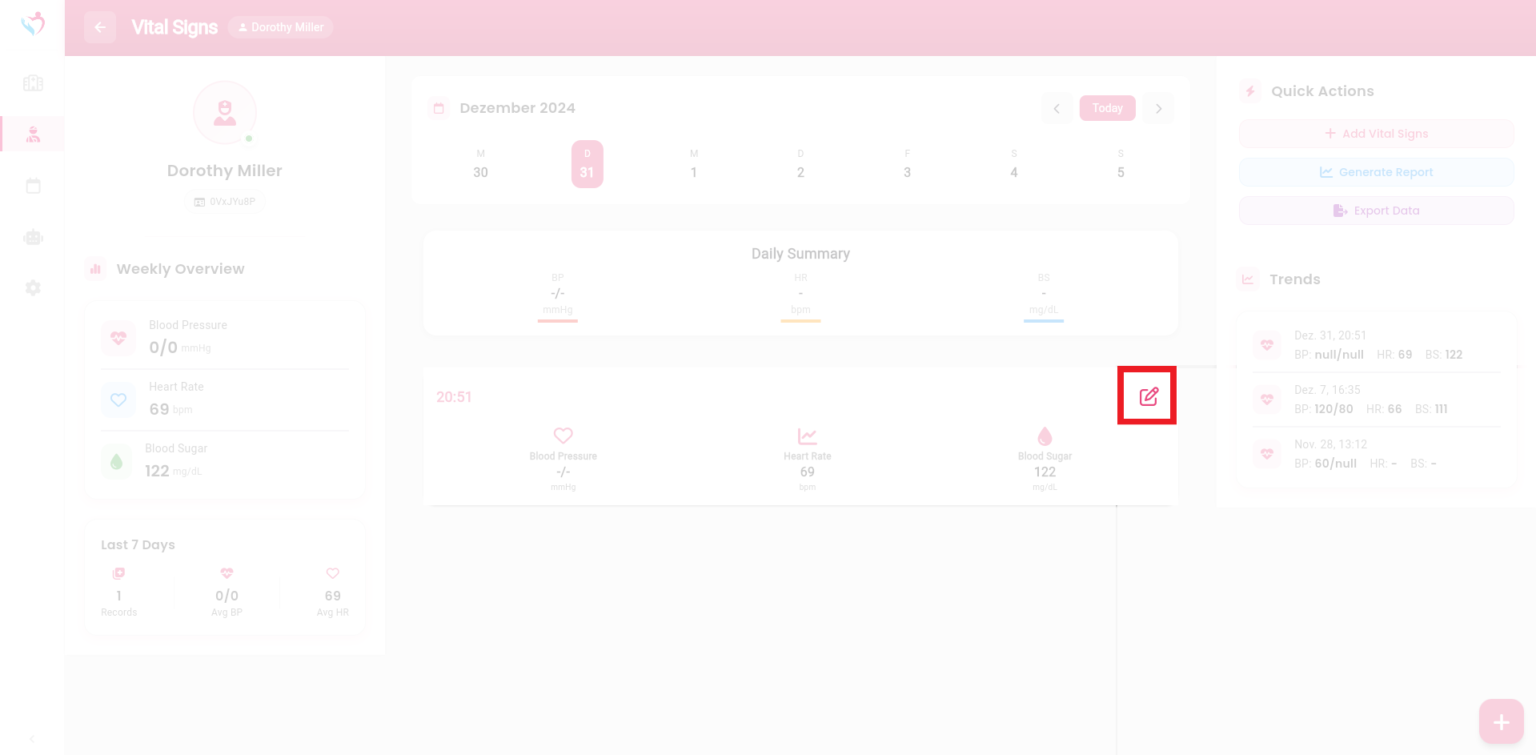
In the menu, the data is displayed in the center. To edit, click the pencil icon located in the upper-right corner.
Subscribe to our newsletter today to receive latest news and get 10% off for your first month.